Installing BlackArch Linux
This tutorial will show you how to install BlackArch Linux using the ISO and the blackarch-installer. This tutorial uses VirtualBox, but you can also use other software if you prefer to virtualize.
We assume you have already burned the ISO from the downloads page onto a USB or DVD and you are ready for the installation.
1. Boot the ISO
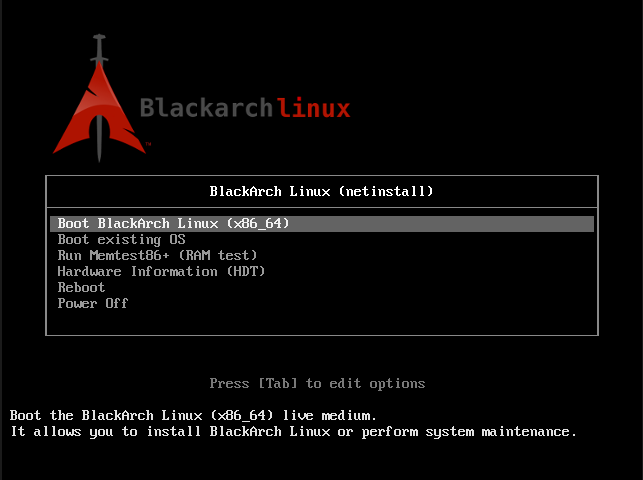
When you boot the image it should display something similar to the following screen. Select your architecture and press enter. [Example: BlackArch Linux (x86_64) for 64 bit]
Installing in VirtualBox?
If you want to install BlackArch using VirtualBox, make sure to choose the right ISO. Check if your hardware supports virtualization — if so, enable it in your UEFI/BIOS settings. If not, you must use the 32 bit ISO. QEMU with KVM was successfully tested and can be used instead of VirtualBox.
2. Log in
Wait until the login prompt appears, requesting the BlackArch login. The default BlackArch Linux credentials are:
- Login:
root - Password:
blackarch
If you are on the Slim ISO the credentials are as follows:
- Login:
liveuser - Password:
blackarch

3. Start the installer
To start the installation, you must execute the BlackArch install script. In order to avoid any problems that can cause you to restart the installation, make sure to have internet available on the machine where you want to install BlackArch. You can list the available network interfaces with the command ip a. If you want or only have wifi available as an option, you may read the Arch wiki to learn how to set up a wireless connection (i.e. wifi-menu/netctl).
If your keyboard differs from the default one (QWERTY US), you can set the keymap corresponding to your language / country. For example, enter the command loadkeys followed by the 2 letters of your country code:
# List network interfaces
$ ip a

# Example: French keyboard layout
$ loadkeys fr

# Start the installer
$ blackarch-install
Run commands while the installer is busy
Throughout this tutorial, you may want to execute some shell commands while the script is running. You can do it at any time without stopping the installer by switching TTYs: press Ctrl+Alt+F2 (F1 is the default TTY where you ran the blackarch-install script). F2 through F6 each bring a new TTY where you can execute any command you may need.
4. Choose an installation method
3 options should now be displayed.
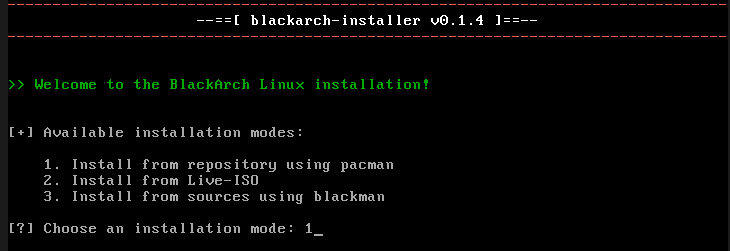
Install from repository using pacman — This is the recommended option to select for the netinstall ISO. It will fetch the required packages from the official Arch repositories and the BlackArch repositories as well.
Install from Live-ISO — If you downloaded the live ISO. If you choose this option you will not need internet during the install process. However, in order to have an updated system, after the installation has finished and you boot into the fresh install, start a general update using
pacman -Syyu.Install from source using blackman — This is not a recommended option for beginners. Instead of fetching the prebuilt package from a repository as pacman does, this will get the source code and compile from source. It's similar to
emergeavailable on a Gentoo system (blackman simply builds from source; emerge is infinitely more advanced and offers a ton of features).
5. Select your keymap
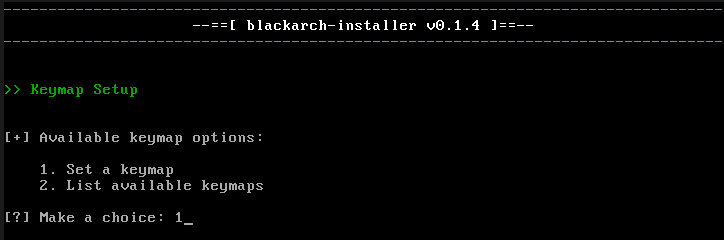
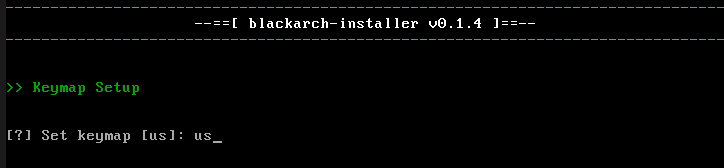
You now have to select the keymap you want. If you have a QWERTY based keyboard, you can stick with the us keycode, however this may not always be the case. If you are unsure, you may list available keymaps by selecting 2. Most of the time, the English country code is used. For a French AZERTY the keymap will be fr, for a Spanish one es, etc. If you know the keymap, select 1.
Write the keymap as explained above:
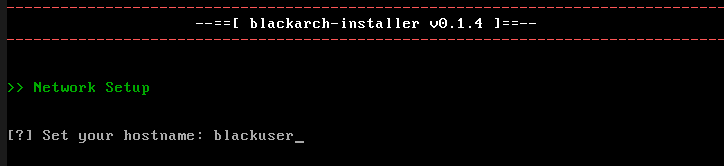
6. Set a hostname
The hostname is basically the name you want to give to your computer on your local network. It will resolve as the name given. You may choose whatever you like and this can be changed at any time by editing the /etc/hostname file.
7. Network setup
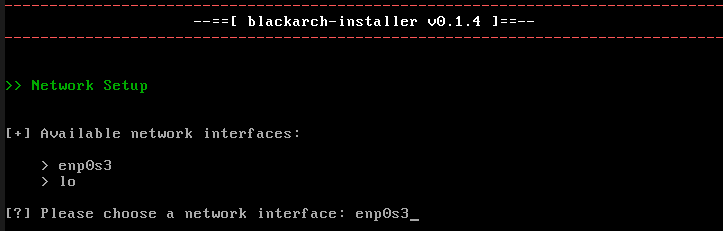
A list of the available network interfaces will be displayed. As explained earlier, you should select your ethernet interface if possible — the script doesn't provide any support for wifi. It's still possible to use wifi, but you will have to set it up by yourself.
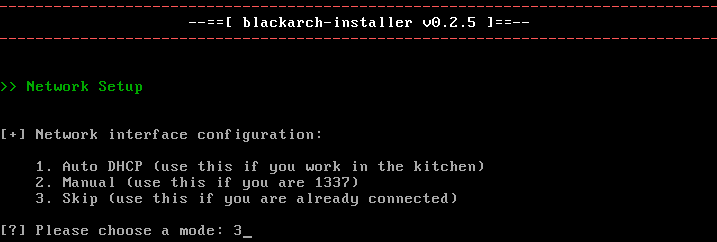
Then choose how the interface gets configured:
Auto DHCP (use this if you work in the kitchen) — The easy and recommended way to automatically set up your network information. This will request/lease a local IP from your DHCP server/router for your device.
Manual (use this if you are 1337) — If you choose the manual way, you will have to know the information of your network (your gateway, LAN IP address, subnet mask, etc.).
Skip (use this if you are already connected) — In case your network interface is already set up and can reach the internet, use this option.
Ping check failing in a VM?
In some cases involving a virtual environment such as VirtualBox or QEMU, some rules in your firewall may drop ICMP, which will deny the ping and block the install at this step since the script will exit, thinking your network interface is misconfigured. You can solve this problem by editing the script located in /usr/bin/blackarch-install: find the line starting with if ! ping -c 1 github.com > /dev/null 2>&1 and comment out or remove each line of the condition block until the closing fi. Once the edit is made and saved, run blackarch-install again and repeat the install.
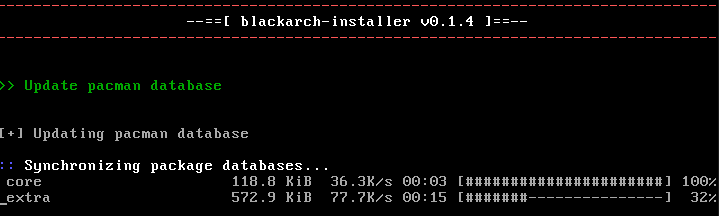
Pacman will now update each repo, download and install some basic system packages needed for the next step of the BlackArch install. If you have a slow download speed, this can take some time. Go grab a coffee!
8. Partitioning
Once the script is done getting things ready, you will have to set up partitions on the device where BlackArch will be installed. You will have to choose between having 2 or 3 partitions:
- Boot partition
- Root partition
- Swap partition *
* The swap partition is optional and can be avoided on a virtual machine. It's still recommended to make a small one to avoid any crash due to a potential problem with your RAM.
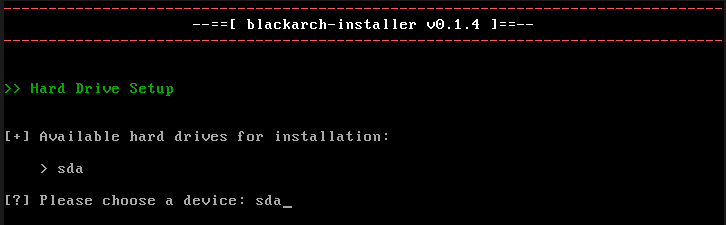
Not sure which device is the right one?
In case more than 2 devices get listed and you are not sure which is the one you want to install to, you can use fdisk to display the size of the target device. For example, if you have sda listed and want to know its size (and optionally, the filesystem if any): fdisk -l -o device,size /dev/sda
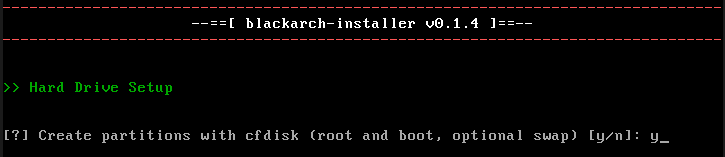
Select y when the script asks you if you want to create your partitions with cfdisk — selecting n will stop the install.
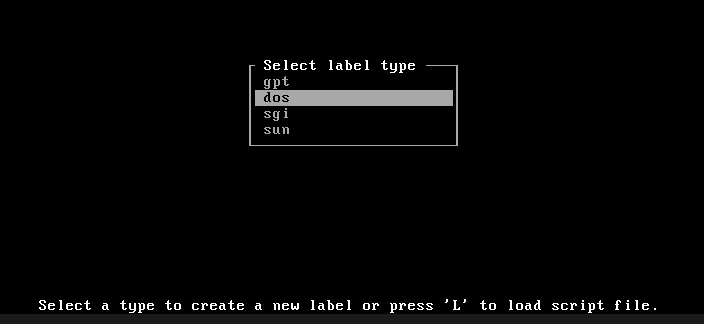
If your storage device already has a label type, you won't see this screen; otherwise set it to dos. If you get an error after installation, you may have an EFI device and should set it to gpt.
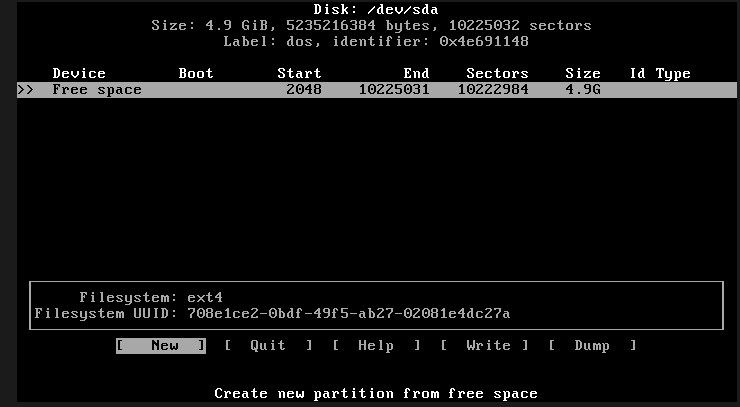
You now have to set up the partitions. The example given is a basic one and should work in most cases. You will need to create at least 2 partitions (boot and root) but we will use 3 in this example, including the swap partition.
Boot partition
Let's start with the first one, boot. Using the arrows, go to New, push enter and write 500M. This is enough space for most users since you won't have more than 3 different kernels at the same time.
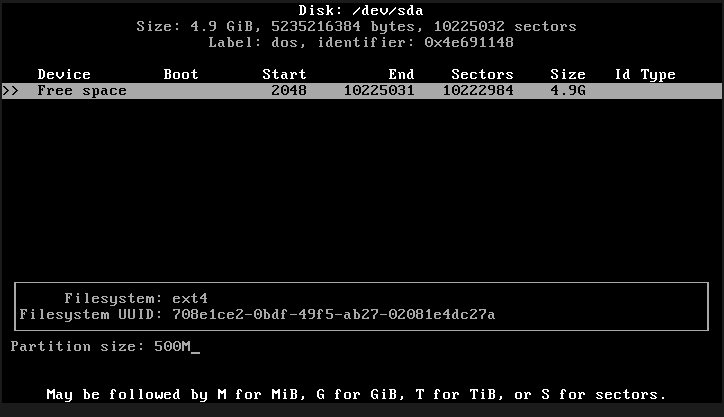
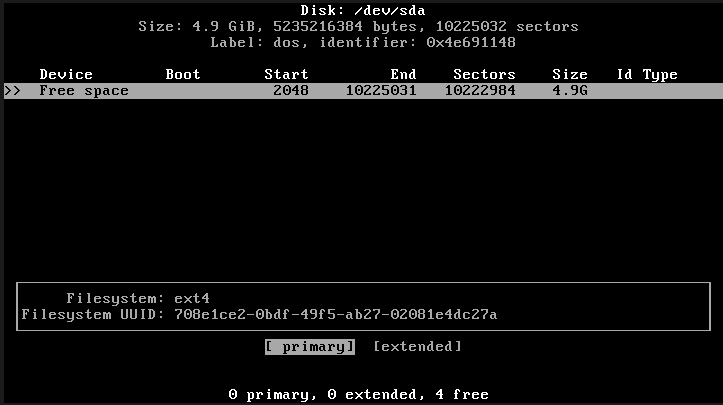
Select primary and press enter.
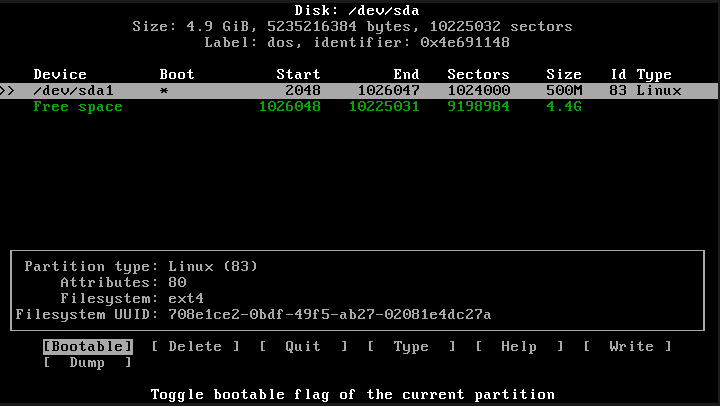
You need to mark this partition as bootable. Go to the option Bootable and press enter. The * should appear as on the screen. If your device is an EFI device make sure to select Type and set it to EFI Type.
Swap partition
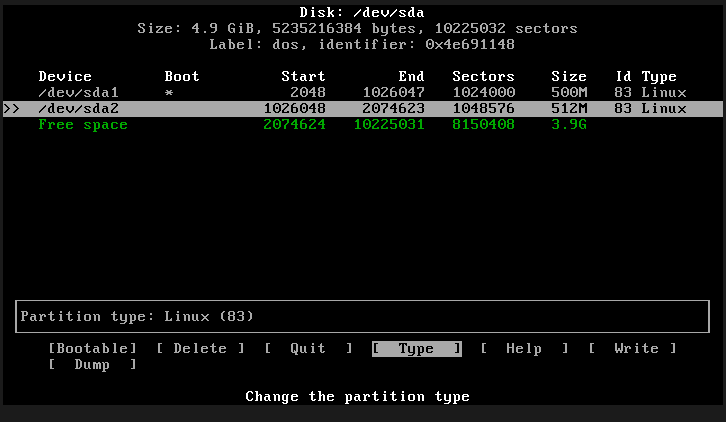
Afterwards go to the second partition: press the down arrow to select the free space, then select New. This will be our swap partition. Press enter and write 512M. Press enter again and select primary.
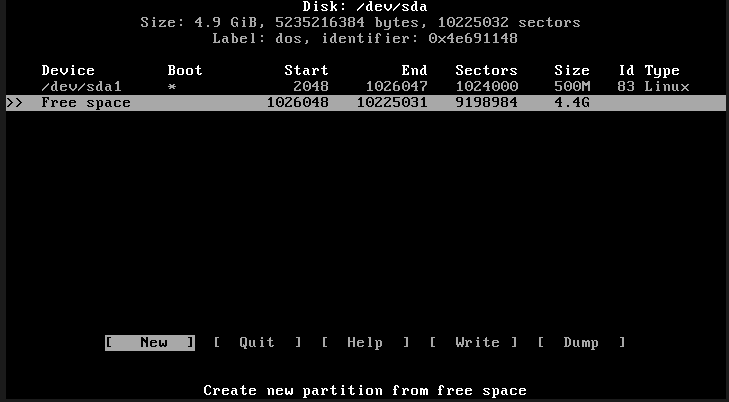
For this partition you need a different type. Using the arrows, go to Type and press enter. A list will be displayed — select Linux swap / Solaris and press enter.
Root partition
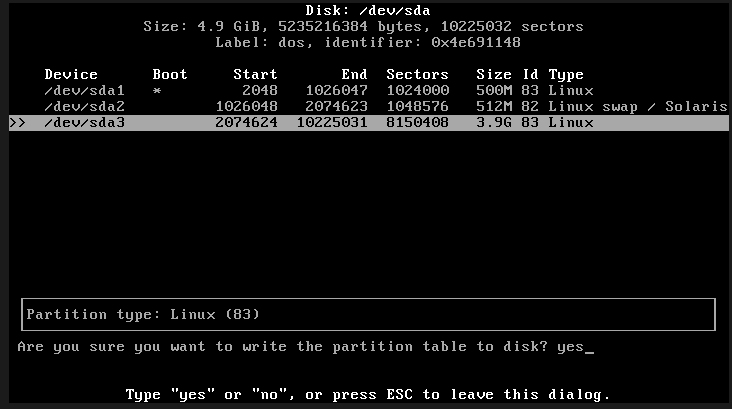
Let's go for the last partition. Same process as we did earlier: select the free space, go to New and press enter. This time you don't need to write anything — we want to take all the free space available. Simply press enter twice.
Before you quit cfdisk you must save this partition table: go to Write and press enter. It will ask you to confirm your changes — write yes, press enter, and you may now quit.
9. Encryption (optional)
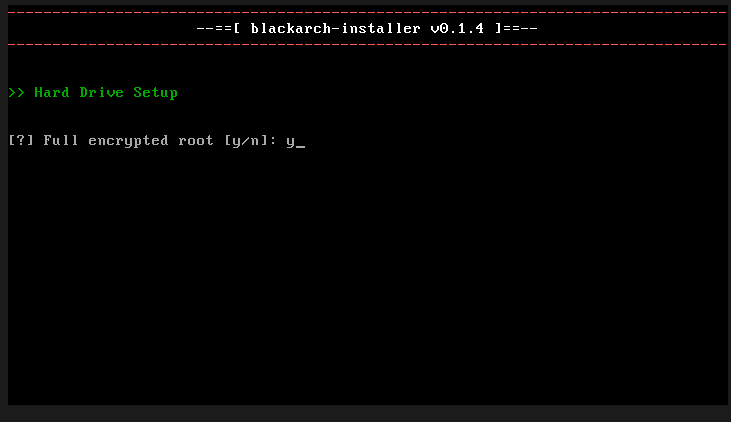
You have the choice to fully encrypt your root partition with LUKS. It's recommended to set y as your data may be sensitive and you want to keep it private from anyone (in case your computer gets stolen or is taken by some agency...). Do not pick something too easy, as it can be bruteforced.
A forgotten LUKS password cannot be recovered
Be aware that if you forget the password to unlock your LUKS partition, neither the data nor the password can be recovered. A good move would be to write down the password on a piece of paper and hide it somewhere safe. This can save you from trouble in case you can't remember it.
Using an SSD?
If you encrypt the data with LUKS it will drastically reduce the lifetime of the SSD — encrypting (and decrypting) the stored data requires a lot of disk writing. You can fix this problem by adding root_trim=yes as an option in your bootloader. For GRUB, look for the line of the currently used kernel, similar to the following: linux /vmlinuz ... root=/dev/mapper/ ... and add root_trim=yes at the end of the line.
10. Filesystems
The filesystem for each of those partitions must be defined. ext4 is the default choice since it's the most recent. First, boot will be /dev/sda1 — choose ext4 for the filesystem. The second partition will be the root: write /dev/sda3 and choose ext4 as filesystem. The last one will be the swap: write /dev/sda2, or just push enter if you haven't created one.
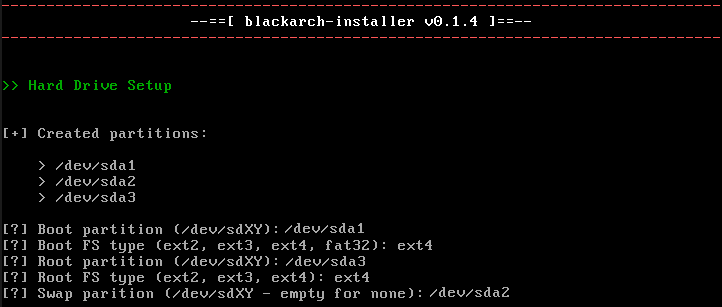
Confirm the partition table when asked:
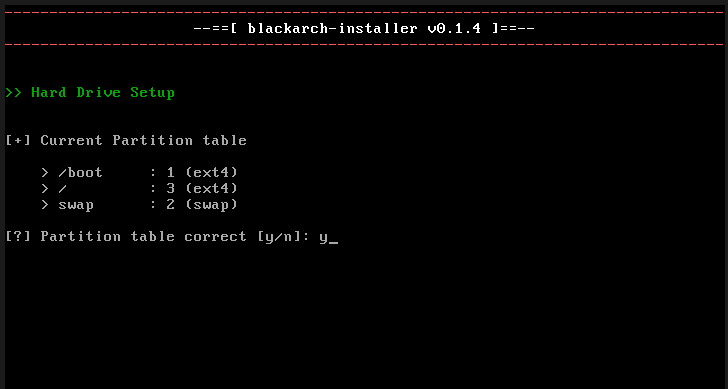
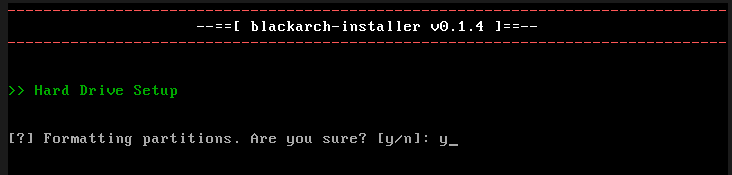
If you chose to use LUKS, the script will ask you 3 times to confirm. The last one must be confirmed with YES (capital letters required).
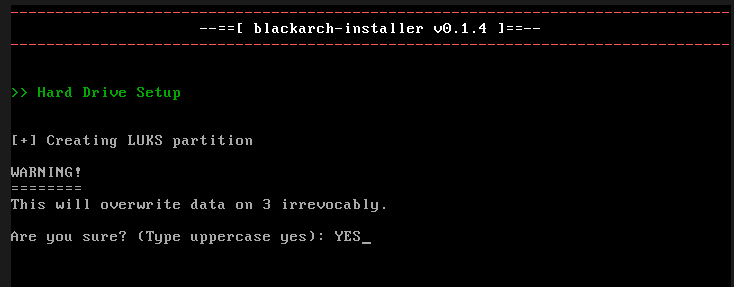
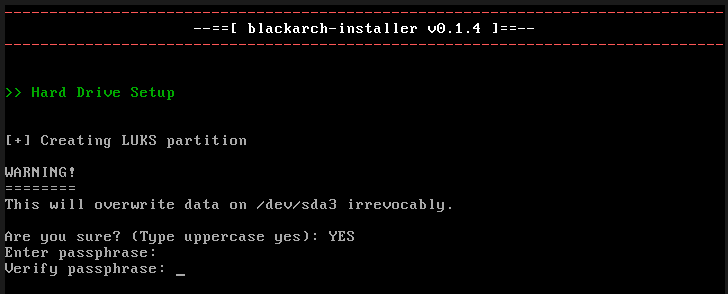
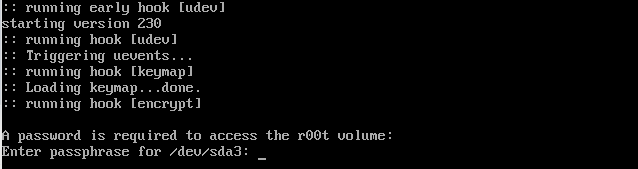
If you have chosen the fully encrypted root option, you will have to define the password. A prompt asking for it at each boot will be displayed right after the bootloader. When you confirm the password, the root partition will immediately be encrypted. After it fully encrypts the partition, the install script needs to mount the device: enter your password again to unlock the root partition so the install script can mount it and complete the installation.
11. Base system and accounts
Now the script will download the latest necessary packages for your system. This will take a little time depending on your internet speed.
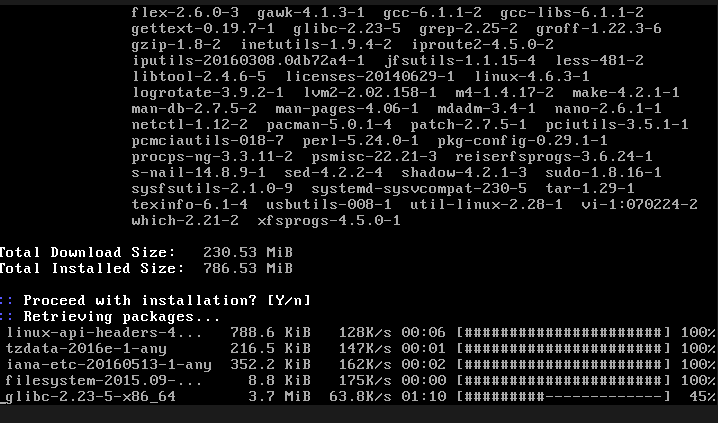
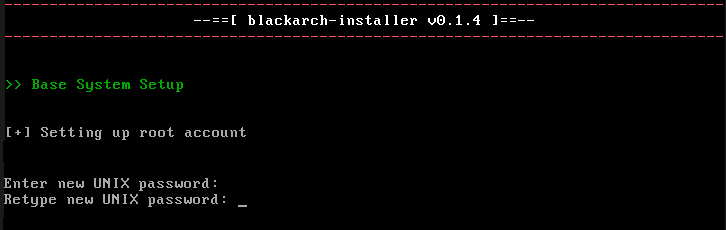
When the install is finished with this task, you will be asked to set the password of your root account.
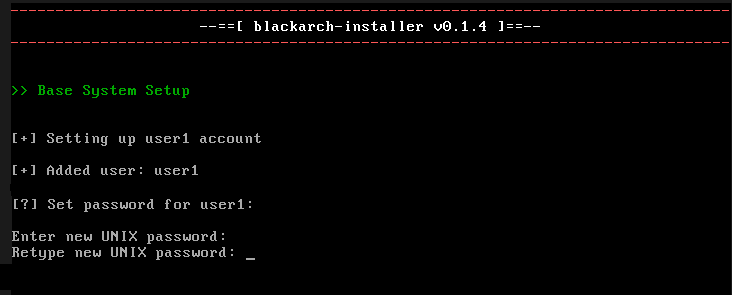
Next, you need to create a normal account — using root as the only user of your system is wrong and you should never do it.
When the script asks you to choose a mirror, press enter for the default. You can change this later.

12. Optional extras
From now on, the last 3 steps before the end are optional. The script will now ask you if you want an X display (graphical environment, a desktop). Before you type y and press enter, make sure nobody is looking at your screen — this is very important.
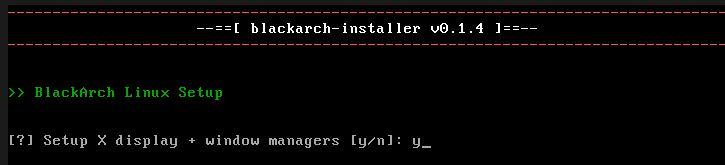
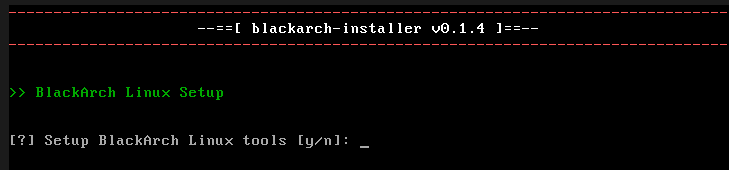
You will have the choice to download the VirtualBox guest additions/tools — if you are not interested, press n and hit enter. If you want the BlackArch tools, saying y will download and install more than 1500 tools from the BlackArch repo. You can fetch those later if you want; this is an option that can be skipped.
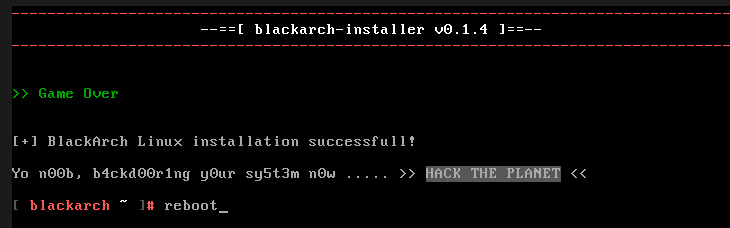
13. Game over — reboot
If you ever wonder what the meaning of that screen is: it's just a "joke" made by a developer. In other words, this means it's the end of the installation. You can now reboot and access your new BlackArch Linux system.
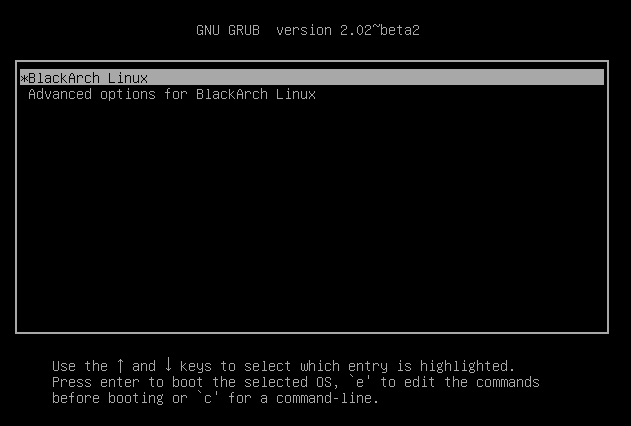
If you chose the fully encrypted root option, it will prompt you for your partition's LUKS password on each boot.
Enjoy BlackArch Linux
Remember: the developers/contributors of BlackArch Linux are volunteers. All the work provided is free and was done in their free time. You can help us by making a donation which will be used for this project only.
If anything goes wrong during the installation, pay us a visit in the #BlackArch:matrix.org channel, check the FAQ, or report installer issues in the blackarch-installer repository.